在学习完智能合约后,如何和智能合约进行交互是一个重要的知识点。但目前市面上的相关技术文章存在不够全面的问题。所以笔者想通过本文,叙述一个包含Infura使用、账户的创建、测试币的领取、合约的部署、合约的调用的完整过程。
本文基于 Infura 与 Web3py。
1 创建项目文件夹
mkdir hello_app & cd hello_app2 创建abi文件与bin文件
合约原文为:
pragma solidity>=0.4.24 <0.6.11; contract helloworld { string name; constructor() public { name = "welight"; } function get() public view returns (string memory) { return name; } event Set(address indexed_from, string n); function set(string memory n) public { name = n; emit Set(msg.sender, n); } }将如下代码保存为hello.abi文件并存储于hello_app文件夹下:
[ { "inputs": [], "stateMutability": "nonpayable", "type": "constructor" }, { "anonymous": false, "inputs": [ { "indexed": false, "internalType": "address", "name": "indexed_from", "type": "address" }, { "indexed": false, "internalType": "string", "name": "n", "type": "string" } ], "name": "Set", "type": "event" }, { "inputs": [], "name": "get", "outputs": [ { "internalType": "string", "name": "", "type": "string" } ], "stateMutability": "view", "type": "function" }, { "inputs": [ { "internalType": "string", "name": "n", "type": "string" } ], "name": "set", "outputs": [], "stateMutability": "nonpayable", "type": "function" } ]将如下代码保存为hello.bin文件并存储于hello_app文件夹下:
608060405234801561001057600080fd5b506040518060400160405280600781526020017f77656c69676874000000000000000000000000000000000000000000000000008152506000908051906020019061005c929190610062565b50610107565b828054600181600116156101000203166002900490600052602060002090601f016020900481019282601f106100a357805160ff19168380011785556100d1565b828001600101855582156100d1579182015b828111156100d05782518255916020019190600101906100b5565b5b5090506100de91906100e2565b5090565b61010491905b808211156101005760008160009055506001016100e8565b5090565b90565b6103e0806101166000396000f3fe608060405234801561001057600080fd5b50600436106100365760003560e01c80634ed3885e1461003b5780636d4ce63c146100f6575b600080fd5b6100f46004803603602081101561005157600080fd5b810190808035906020019064010000000081111561006e57600080fd5b82018360208201111561008057600080fd5b803590602001918460018302840111640100000000831117156100a257600080fd5b91908080601f016020809104026020016040519081016040528093929190818152602001838380828437600081840152601f19601f820116905080830192505050505050509192919290505050610179565b005b6100fe610263565b6040518080602001828103825283818151815260200191508051906020019080838360005b8381101561013e578082015181840152602081019050610123565b50505050905090810190601f16801561016b5780820380516001836020036101000a031916815260200191505b509250505060405180910390f35b806000908051906020019061018f929190610305565b507fde696604ac839ef8a5d0fcb2310ea48463357a6247e0d961d77c41d136a5d9463382604051808373ffffffffffffffffffffffffffffffffffffffff1673ffffffffffffffffffffffffffffffffffffffff16815260200180602001828103825283818151815260200191508051906020019080838360005b8381101561022557808201518184015260208101905061020a565b50505050905090810190601f1680156102525780820380516001836020036101000a031916815260200191505b50935050505060405180910390a150565b606060008054600181600116156101000203166002900480601f0160208091040260200160405190810160405280929190818152602001828054600181600116156101000203166002900480156102fb5780601f106102d0576101008083540402835291602001916102fb565b820191906000526020600020905b8154815290600101906020018083116102de57829003601f168201915b5050505050905090565b828054600181600116156101000203166002900490600052602060002090601f016020900481019282601f1061034657805160ff1916838001178555610374565b82800160010185558215610374579182015b82811115610373578251825591602001919060010190610358565b5b5090506103819190610385565b5090565b6103a791905b808211156103a357600081600090555060010161038b565b5090565b9056fea2646970667358221220186362088d7983034f86226726a228de42984571bf591f0c3e40f297491ad61b64736f6c63430006010033自然,你也可以通过remix等各种方式自行编译!
2 注册 Infra.io 并获取Project ID
https://infura.io/
注意!需选择ENDPOINTS为ROPSTEN!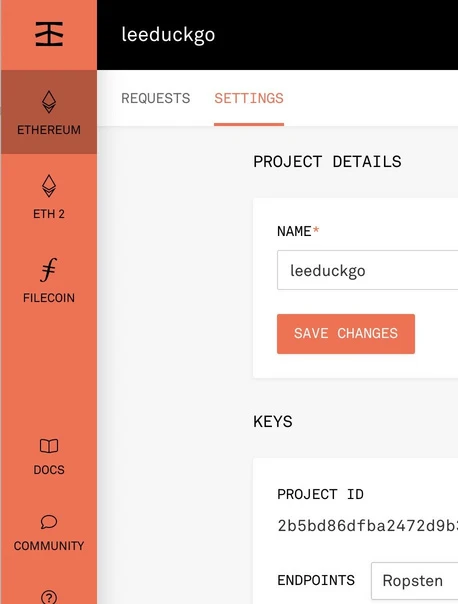
3 设置环境变量
export WEB3_INFURA_PROJECT_ID=[Project Id]
4 安装必要的 package
此处建议使用Python虚拟环境,以确保隔离:
virtualenv env . ./env/bin/activate包的安装:
apt install web3 -i https://pypi.tuna.tsinghua.edu.cn/simple5 进入 python 交互环境
python3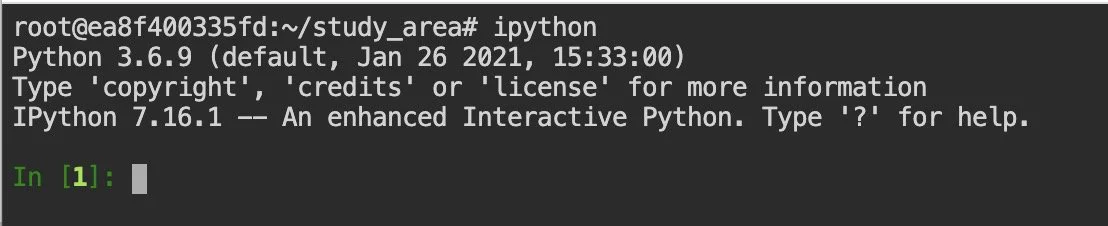
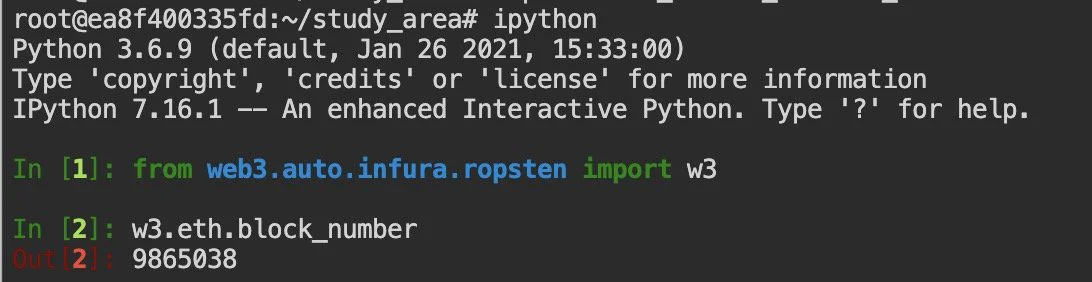
6 连接 Ropsten 区块链网络并检验联通性
from web3.auto.infura.ropsten import w3 import json print(w3.eth.block_number)如果连通正常,会返回当前 Ropsten 网络的区块高度。
7 创建账户
acct = w3.eth.account.create("[这里]") #随便敲一些字符 print(acct.address) # 输出地址 print(acct.privateKey.hex()) # 输出私钥
将私钥和地址保存到本地。
此时若查看余额,将会得到0:
w3.eth.get_balance(acct.address)
注:如果下次继续进行使用 Ropsten 网络的实验,可以通过如下语句导入账户:
acct = w3.eth.account.from_key("[hex_priv_key_u_got]")
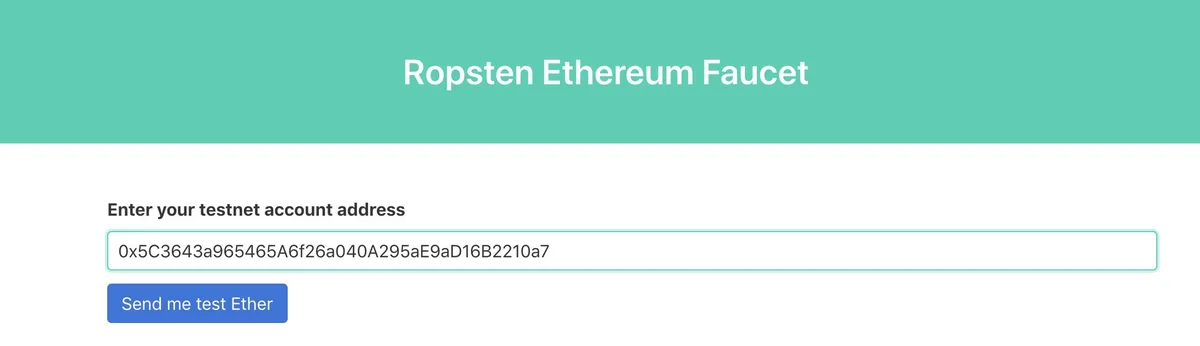
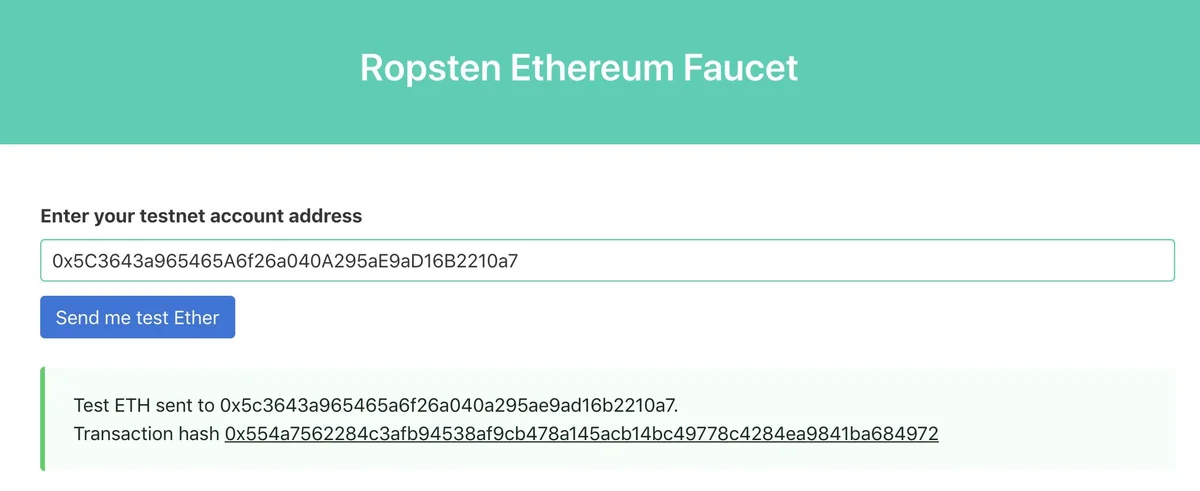
8 领取 Ethereum Rospten 测试网络代币
领取网址:
https://faucet.ropsten.be/
在输入框中输入上一步中的地址,点击按钮。
顺利则返回如下结果:
等待16个区块(约5分钟),再次执行
w3.eth.get_balance(acct.address)即发现该账户中已经有1个eth了!

9 通过账户部署 Hello 合约
参考资料:https://ethereum.stackexchange.com/questions/44614/how-to-connect-to-infura-and-deploy-contract-use-web3-py
with open('hello.abi', 'r') as f: abi = json.load(f) with open('hello.bin', 'r') as f: code = f.read() code = code.replace("/n", "") contract = w3.eth.contract(abi=abi,bytecode=code) # 合约对象 construct_txn = contract.constructor().buildTransaction({ 'from': acct.address, 'nonce': w3.eth.getTransactionCount(acct.address), 'gas': 5000000, 'gasPrice': w3.toWei('21', 'gwei')}) # 构造合约部署交易 signed = acct.signTransaction(construct_txn) # 交易签名 tx_id = w3.eth.sendRawTransaction(signed.rawTransaction) # 交易发送 print(tx_id.hex()) # 打印交易哈希等待交易确认,大概要30秒,然后根据tx_receipt获取合约地址:
contract_addr = w3.eth.getTransactionReceipt(tx_id.hex()).contractAddress # 通过交易 id 查询合约地址10 调用合约
根据contract_addr与abi构造contract:
c = w3.eth.contract(contract_addr, abi=abi) c.all_functions() # 输出该合约可以调用的所有函数
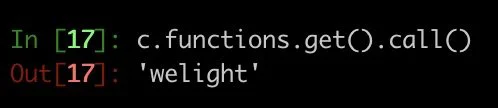
调用get函数:
c.functions.get().call()返回字符串welight:
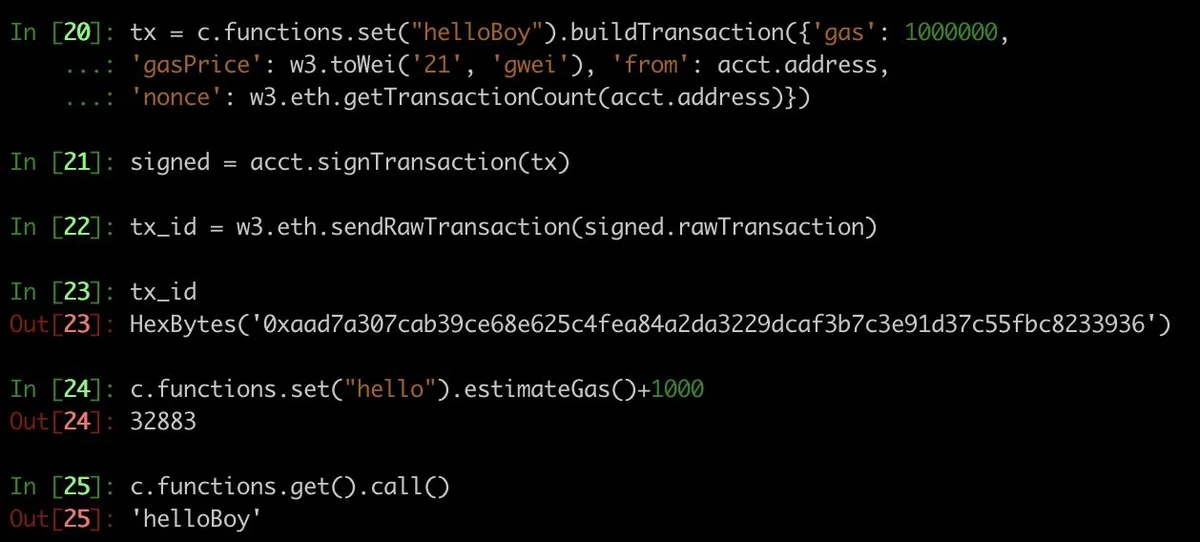
调用set函数:
tx = c.functions.set("hello").buildTransaction({'gas': 1000000, 'gasPrice': w3.toWei('21', 'gwei'), 'from': acct.address, 'nonce': w3.eth.getTransactionCount(acct.address)}) # 构造交易 signed = acct.signTransaction(tx) # 用账户对交易签名 tx_id = w3.eth.sendRawTransaction(signed.rawTransaction) # 交易发送并获取交易id等待交易落盘(约30秒),再次执行:
c.functions.get().call()即发现存储在区块链上的值已经改变:
近期我将开设一门「智能合约极速入门」课程(付费),对此有兴趣的请联系我并注明「智能合约」。